Learning how to dye roots darker than the rest of your hair is easier than you imagine. This post will show you exactly how to do a DIY root touch up.
RELATED: How Often Can You Dye Your Hair Without Damaging It
In this article:
The DIY Root Touch up Instruction You Need
Before You Proceed
A few pointers are needed at this point. You can go two ways with a root touch up at home. Either you go a shade darker than your existing hair dye or you can go for contrast instead.
If you choose to go a shade darker from the existing hair dye on you, this will create a transition from your natural roots to the hair that has grown out. For example, if you have a light brown color on your growth, you can choose to opt for a brown as root touch up. Eventually, when the hair has grown again after a few weeks, this will create a gradient effect on your hair that is much more pleasing to the eye.
You may also choose to go for contrast instead. This is pretty popular for those with existing blonde hair color. Choosing to go darker than your light hair color creates a bolder, edgier effect. Like a dark brown or even black to contrast the icy color of blonde.
Note: If you are expecting a professionally done root touch up, it’s better to lower your expectations. The best thing you can do if you have hair that is darker than your hair dye is to do the blended roots technique. Or at least, close to it. Here’s how to do it.
Here’s What You Need:
Pre-Color Preparation:
- Shampoo your hair 24 hours before coloring. This allows your scalp’s natural oils to settle in before coloring your hair. It makes the hair dye bind better to your hair strands. It is recommended not to use conditioner for this period of time before the application. This is because conditioners prohibit your hair’s natural oils from setting in.
- Use a towel or a color cape before starting in order to avoid any accidental spills on your shirt.
- Apply vaseline on the edges of your hairline, your ears, and all the way to your nape. This way, when hair dye comes in contact with your skin it won’t bind easily. Therefore, it’s easier to take out the color.
- Using your gloves mix your hair dye solution in the bowl. Follow the instructions provided by the manufacturer. Most hair dyes come with a complete set of tools including the color developer, hair dye comb with brush, gloves, and bowl. If not, you may need to get a color developer. If you should choose one at 20%.
How to Dye Roots Darker Than the Rest of Your Hair Steps
Step 1: Create Sections
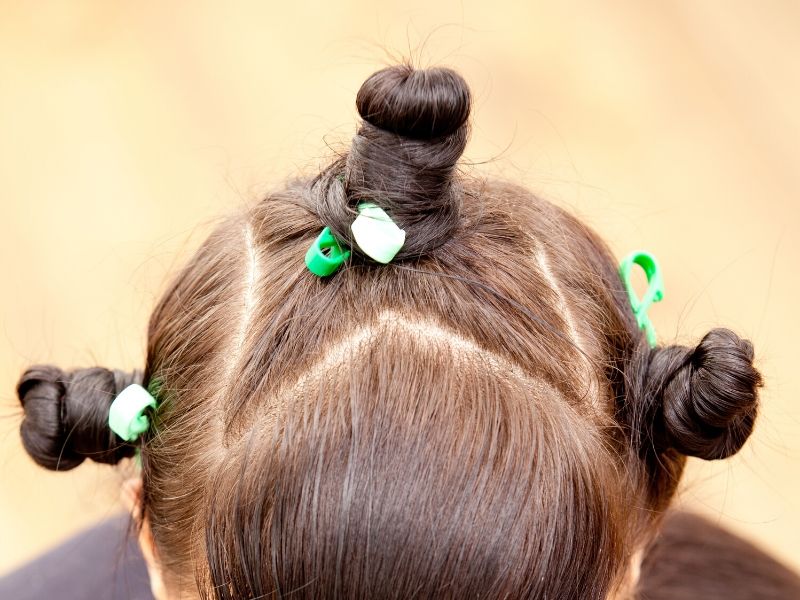
- Section hair into two parts, separated at the center. Use an alligator clip to hold one section of the hair in place or you may use other clips or hair tie.
- Create more sections by parting the hair through from the back of your ears all the way to where the center part at the back is and clip in place. You may start with one side of your head first so as to keep the process neat and organized.
- You now have a small section of hair from the back to work with. Use clips to separate into about half an inch thick sections. You will probably have 2 sections of hair separated horizontally.
- Clip the upper section and start applying the hair dye to the section at the bottom.
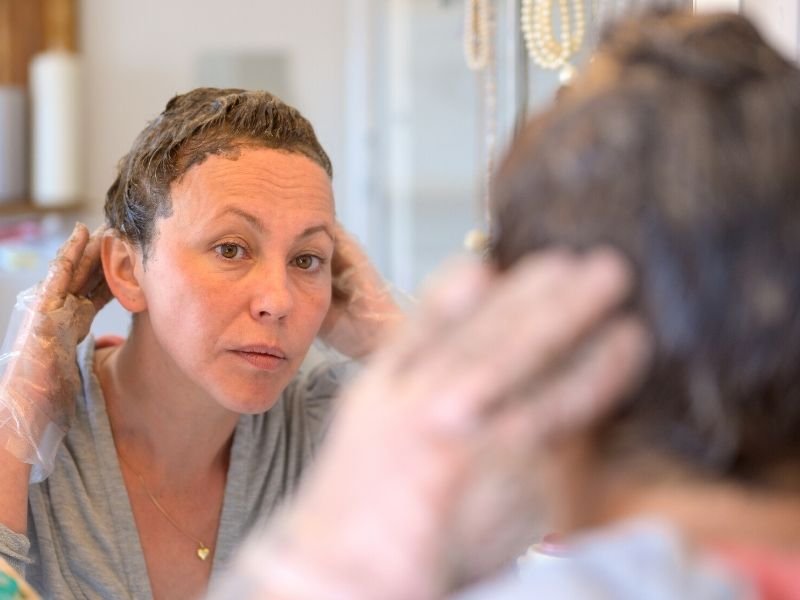
Step 2: Apply Hair Dye
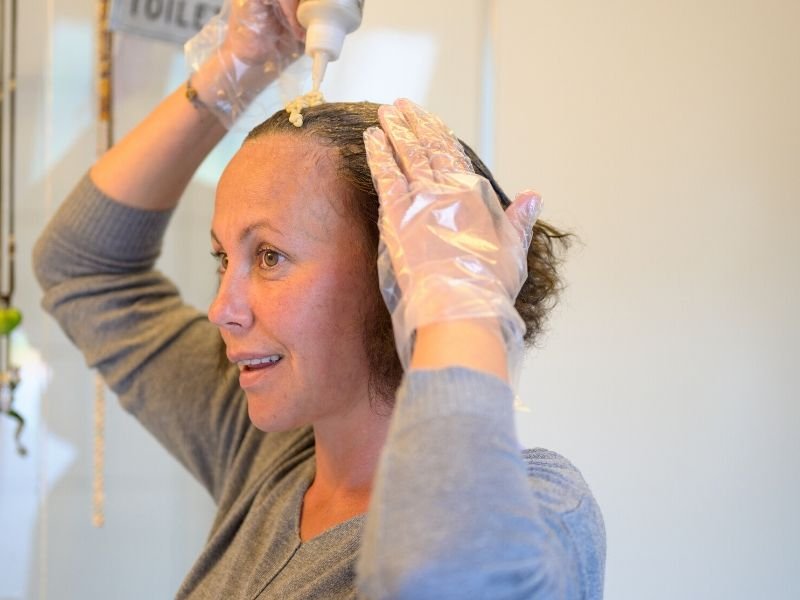
- Using the hair dye brush, pick a dollop of hair dye solution, and apply only to the uncolored part of the hair. Do not go all the way to where the existing color is.
- Make sure that the color is not patchy by applying it all the way through be feel or if you have a back mirror handy that would definitely help you out.
- Apply the color on both sides of the sectioned hair. In this case, apply to the underside; once done, flip and apply to the right side up. Repeat the process on the second section of hair, carefully making sure that you don’t apply it to the part of your hair with existing hair dye.
- After you are done with the first section of hair, undo the second section and start working on smaller half-inch thick sections. Repeating the whole process until you finish one side of the head.
- When you finish the application on one side of the head. Repeat the process on the other side by starting with the bottom section going through all the sections, all the way to the crown.
RELATED: 10 Hair Color Corrector Products You Can Use At Home
Step 3: Massage, Massage, Massage
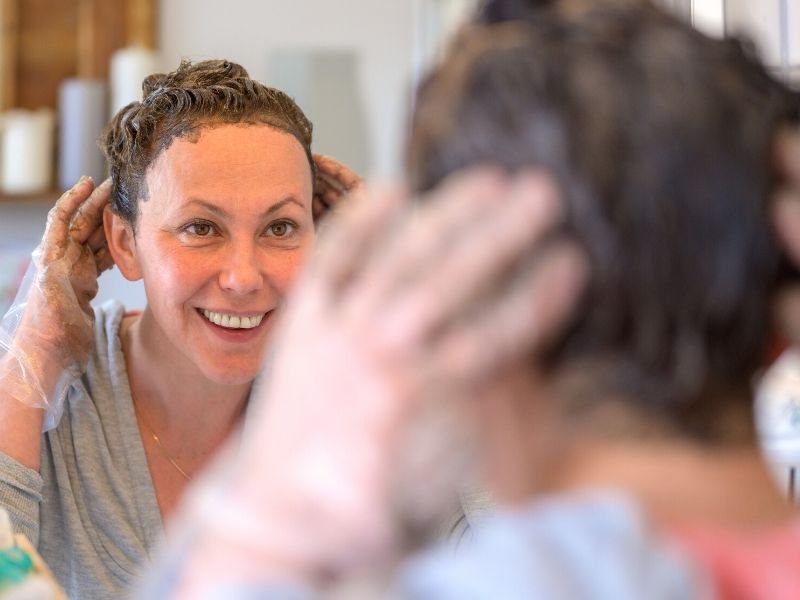
When you are sure you have colored in your roots, gently massage your scalp to make sure the product is spread evenly. Note that dyed roots can sometimes appear patchy because of uneven application.
Step 4: Color Set
Wait for the color to set. It usually takes about 30 minutes for the colors to develop. While waiting, you may relax with some music and wine. After all, a little self-care will always do anyone good. This would also be a good time to wipe off any excess product that may have transferred to your skin.
Step 5: Rinse-Off

At the set time, you may rinse-off the product under cold water as this helps with sealing the color in place. However, you will see color run off in the shower which is natural so don’t panic.
Shampoo and use the conditioner that came with the hair dye solution, if there is none use a nourishing conditioner to help your hair strand recover from the treatment.
Step 6: Dry and Check
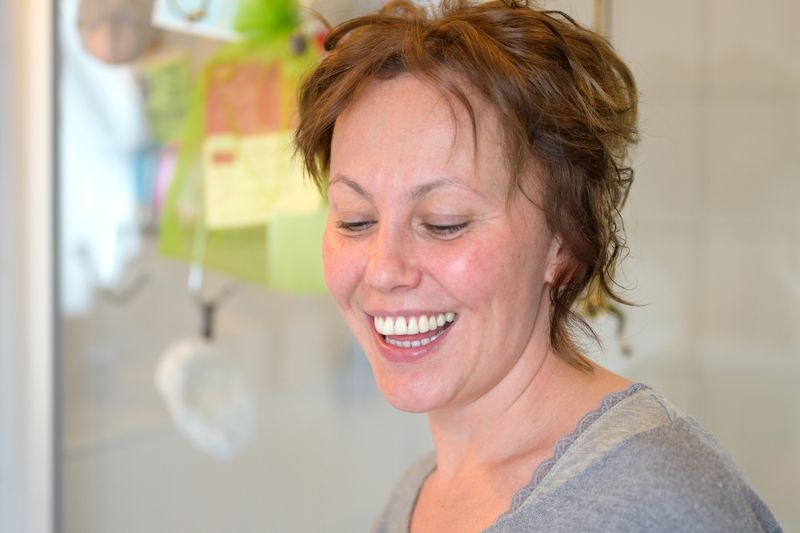
This time can be exciting but you still have to do a final check to see if you have really learned how to dye roots darker than the rest of hair or if you need to reapply in some areas.
Dry your hair thoroughly with a hairdryer to effectively check for any patchiness. Hopefully, there would be none and you will have freshly touched up roots even while at home.
Watch Brad Mondo’s professional guide to coloring your hair at home and not ruining it:
Learning how to dye roots darker than the rest of hair may be daunting at first, but once you get over the initial hurdle it will be easy as pie and you may want to keep doing it as long as your can.
Let us know if you have any hack for doing a DIY root touch up at home! We’d love to hear what you have to say. Share it in the comments below!
UP NEXT:
- How Often Can You Dye Your Hair Without Damaging It
- 10 Hair Color Corrector Products You Can Use At Home
- Kylie Jenner Says Goodbye To Nails, Hair & Lashes Extensions During Lockdown
We aim to feature the best of the best in the makeup world, and maybe that can include you! CONTRIBUTE to us!
Follow us on Facebook, Twitter, Instagram, and Pinterest for the latest makeup, hair, and nail trends. Don’t forget to subscribe to our Youtube Channel for cool makeup tutorials.
*Editor’s Note – This post was originally published in June 2020 and has been updated for quality and relevancy.