Fast Facts: How to Do Winged Eyeliner Successfully
- Common beginner aids: Tape, dot mapping, starting with pencil, and sketching with eyeshadow before liner.
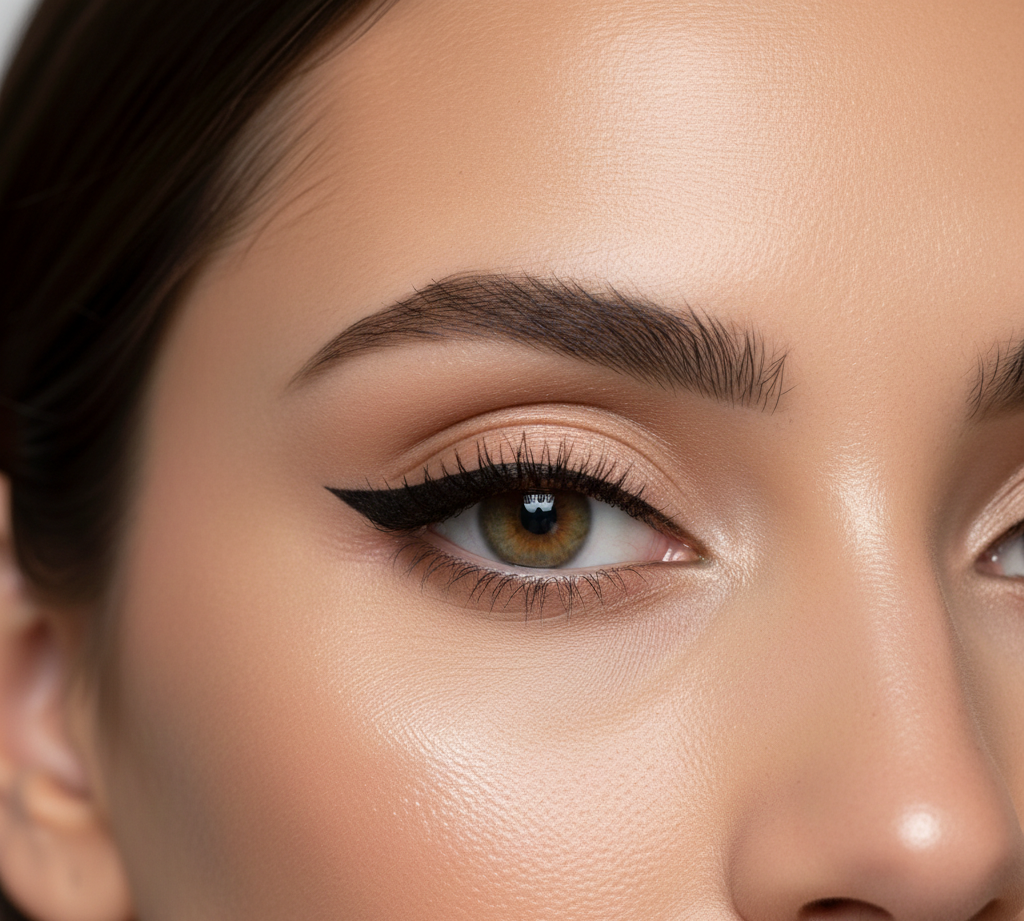
- What winged eyeliner is: A makeup technique that extends liner past the outer corner of the eye to create a lifted, elongated shape.
- How to do it: Draw a small guide at the outer corner, connect it to your lash line, then fill in with short strokes.
- Best tools for beginners: Pencil eyeliner, gel liner with an angled brush, or a felt-tip pen with a firm point.
- How long it takes to learn: Most beginners need 10–20 attempts to feel comfortable and consistent.

Winged eyeliner is one of the most requested looks and one of the most frustrating to master. If you have tried and wiped it off more times than you can count, you are not alone.
The good news is that there is no single correct way to do a wing. Different tools, eye shapes, and techniques work for different people. With the right method and realistic expectations, usually 10 to 20 tries, winged eyeliner becomes a skill you can repeat.
What You’ll Need
- Pencil eyeliner
- Liquid eyeliner
- Gel eyeliner + angled brush
- Eyeshadow primer or concealer
- Tape or sticky note
- Cotton swabs + micellar water
- Small flat brush + concealer
5 Ways to Create Winged Eyeliner (Choose What Works for You)
1. Tape Method (Beginner-Friendly)
Steps
- Place a small piece of tape from the outer corner of your eye toward the end of your eyebrow.
- Apply eyeliner along your upper lash line.
- Extend the liner outward until it meets the tape.
- Fill in the wing shape.
- Slowly remove the tape.
Pros
- Creates clean, sharp edges
- Helps with symmetry
Cons
- Can tug delicate skin
- Less flexible for adjustments
2. Dot Method
Steps
- Place a dot where you want the wing to end.
- Add a dot at the outer corner of the eye.
- Add a dot where the wing connects to the lash line.
- Connect the dots using short strokes.
- Fill in the shape.
Pros
- Reduces pressure
- Great for shaky hands
Cons
- Takes more time
- Requires patience
3. Reverse Method
Steps
- Draw the wing tip first at the outer corner.
- Pull the line inward toward the lash line.
- Connect the wing to the center of the lid.
- Fill in gaps gradually.
Pros
- Better control over angle
- Prevents overly thick wings
Cons
- Feels unnatural at first
- Requires practice
4. Angled Brush + Gel Liner
Steps
- Lightly dip an angled brush into gel liner.
- Stamp the wing shape at the outer corner.
- Draw inward along the lash line.
- Fill in using small strokes.
Pros
- Precise control
- Easier to correct mistakes
Cons
- Brush must be clean and firm
- Requires steady hand
5. Pen Eyeliner (Advanced)
Steps
- Use the tip to sketch the wing outline.
- Connect the wing to the lash line.
- Fill in slowly with short strokes.
- Let the liner dry completely.
Pros
- Sharpest finish
- Fast once mastered
Cons
- Least forgiving
- Mistakes are visible
How to Fix Eyeliner Mistakes (Without Starting Over)
Uneven wings
Adjust the smaller wing instead of thickening both.
Too-thick liner
Clean edges with a flat brush and concealer.
Mismatched angles
Check symmetry with eyes open and relaxed.
Shaky lines
Rest your elbow on a surface and use short strokes.
Smudging
Let liner dry fully, then set with matching eyeshadow.
Pro tip
Prepare cotton swabs and concealer before you start.
Quick fixes prevent full removal.
Winged Eyeliner for Different Eye Shapes
Hooded eyes
Keep wings thin.
Draw with eyes open.
Extend outward rather than upward.
Downturned eyes
Angle the wing slightly upward.
Start the wing above the outer corner.
Round eyes
Keep liner thin in the inner corner.
Extend the wing horizontally to elongate.
Almond eyes
Most techniques work well.
Focus on balance and symmetry.
Close-set eyes
Minimize liner near inner corners.
Emphasize the outer wing.
How to Practice Winged Eyeliner (Without Wasting Product)
- Practice strokes on the back of your hand.
- Sketch wings using eyeshadow first.
- Progress from pencil to gel to liquid.
- Apply eyeliner before foundation.
- Relax your face and blink naturally.
Muscle memory develops through repetition, not perfection.
Best Eyeliner for Beginners
- Soft pencil liners for easy correction
- Gel liners with firm angled brushes
- Felt-tip pens with controlled flow
Best Liquid Eyeliner for Sharp Wings
- Waterproof formulas
- Brush-tip pens for flexibility
- Fast-drying finishes
Best Waterproof Eyeliner
- Long-wear gel liners
- Smudge-resistant liquid liners
- Waterproof pencil liners
Final Takeaway: Read This Before You Quit
Winged eyeliner is not about talent.
It is a learned skill built through repetition, technique, and patience.
If it feels hard, that means you are learning.
Choose one method, practice consistently, and focus on progress instead of perfection.
FAQs: Winged Eyeliner for Beginners
What type of eyeliner is easiest for beginners?
Pencil or gel liner because mistakes are easier to fix.
How do I make my eyeliner wings match?
Match the angle first, then adjust the smaller wing.
Why does my eyeliner always smudge?
Oily lids or not setting liner properly.
Should my wing point to my eyebrow or temple?
Aim toward the end of your eyebrow for a natural lift.
Can I do winged eyeliner with hooded eyes?
Yes. Keep wings thin and draw with eyes open.
How thick should a beginner wing be?
Very thin. You can always build thickness.
How do I stop eyeliner from transferring?
Use eye primer and set liner with powder.