DIY pedicure can be cost effective and easy, plus you can get beautiful feet without even leaving your home. Read on for the best tips, and products that will have you feeling like you just left the nail salon.
DIY Pedicure: Walk-Thru + Best Products
There’s something special about walking into a nail salon and then an hour later, walking out a brand new person. But we don’t always have the time nor the funds to visit the nail salon. Don’t worry, you can do your own pedicure right at home with the right tools,and the right products.
Here’s how!
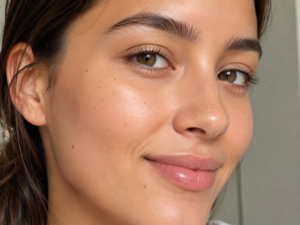
Start with a Clean Canvas
Remove your old nail polish with a non-acetone remover (acetone can be very harsh and makes the skin dry). We like to use Mineral Infusion Nail Polish Remover, it’s gentle and easily removes nail polish, even the darkest colors. Then use a clipper or file to gently shape your nails to your desired length. Also, smooth the surface of your nails with a nail buffer. Our favorite is Sephora’s Nail Buffer Block, not only because it comes with four sides already, it’s also budget friendly.
Exfoliate
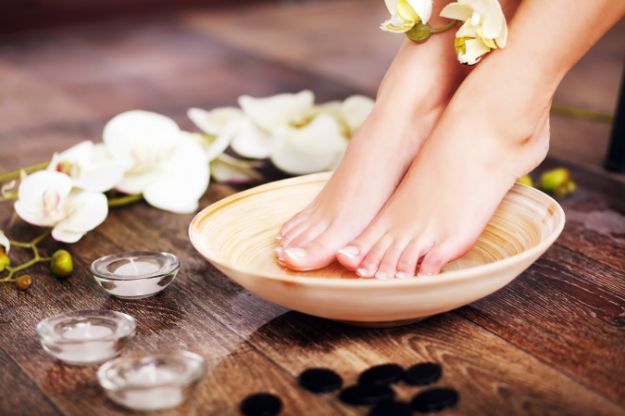
Soak your feet for at least five minutes and after that, it’s time to exfoliate. Everybody loves a good scrub like Tree Hut Shea Sugar Body Scrub. Our favorite scent is the Brazilian Nut; it has a delicious fragrance similar to a sugar cookie, sweet and “creamy”. But for an easy at-home fix, just mix a tablespoon of sugar and baby oil gel. This will help to get rid of dead and dry skin cells. You can also use a foot file to remove calluses. Then rinse and pat dry.Cuticle Care
Soften your cuticles by applying and rubbing oil to the base of each nail, Sally Hansen’s Vitamin E Nail & Cuticle Oil is our favorite. Now that your cuticles are soft, it’s time to push them back using an orange wood stick. And if there are any excess and hangnails, don’t hesitate to nip them off. But just be careful, don’t take off any parts of your cuticle that are protecting your nail bed, only cut the white and wavy excess.
Then a good massage will have your feet feeling soft and pain free. Pick a good moisturizing cream like Julep’s Mint Condition Pedi Crème and slather it on your feet. And before moving onto the next step, swipe a small amount of non-acetone nail polish remover to remove the oils from your nails beds, it also helps with the longevity of your nail polish .
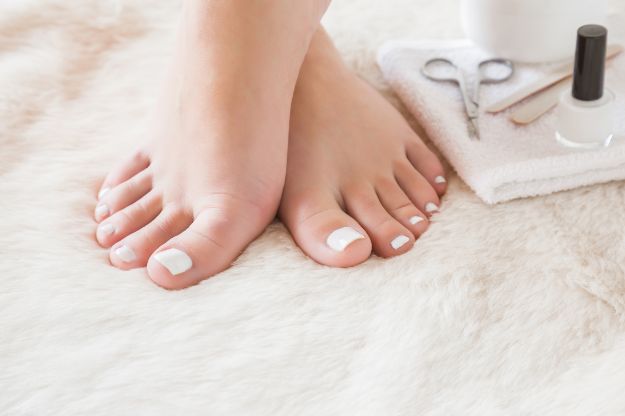
Polish
Don’t forget the ever important base coat. We love using Essie’s first Base Base Coat, with just one thin coat, it helps to smooth any ridges. Then paint your nails with your favorite nail polish, swiping the brush down the center first and then on each side– just like professionals do it (that’s the point right?). Apply thin layers, this will enhance the longevity of your nail polish and also help the polish to dry quickly. Next, apply a top coat. Essie’s All in One 3-Way Glaze is a great, cost-effective product; it acts as a base coat, top coat and strengthener in just one bottle.
Sit Back and Relax
Now that you’re done, its time to sit back, relax and enjoy your handwork. Looks good right?
While you’re relaxing why not sip a glass of red wine and read that book you just picked up at the bookstore.
Have any DIY pedicure tips or favorite products of your own, please share them with us in the comment section.
More DIY tips below